
Not to long ago I saw this adorable DIY on Brit+Co. It seemed super quick, cute and easy, so I decided to make my own version for my weekly Sunday Night DIY. $15 and an hour and a half later, I had a brand new piece of art for my living room wall! Read below to see how I did this DIY:
What You’ll Need:

1) Felt in various colors ($.50 per sheet at Hobby Lobby)
2) 4 pieces of thin wood or canvas (12×12 for $3.99 at Hobby Lobby)
3) Pushpins
4) Scissors
5) Hot Glue Gun
6) Printed letter template (I chose to use 300pt font)
Instructions
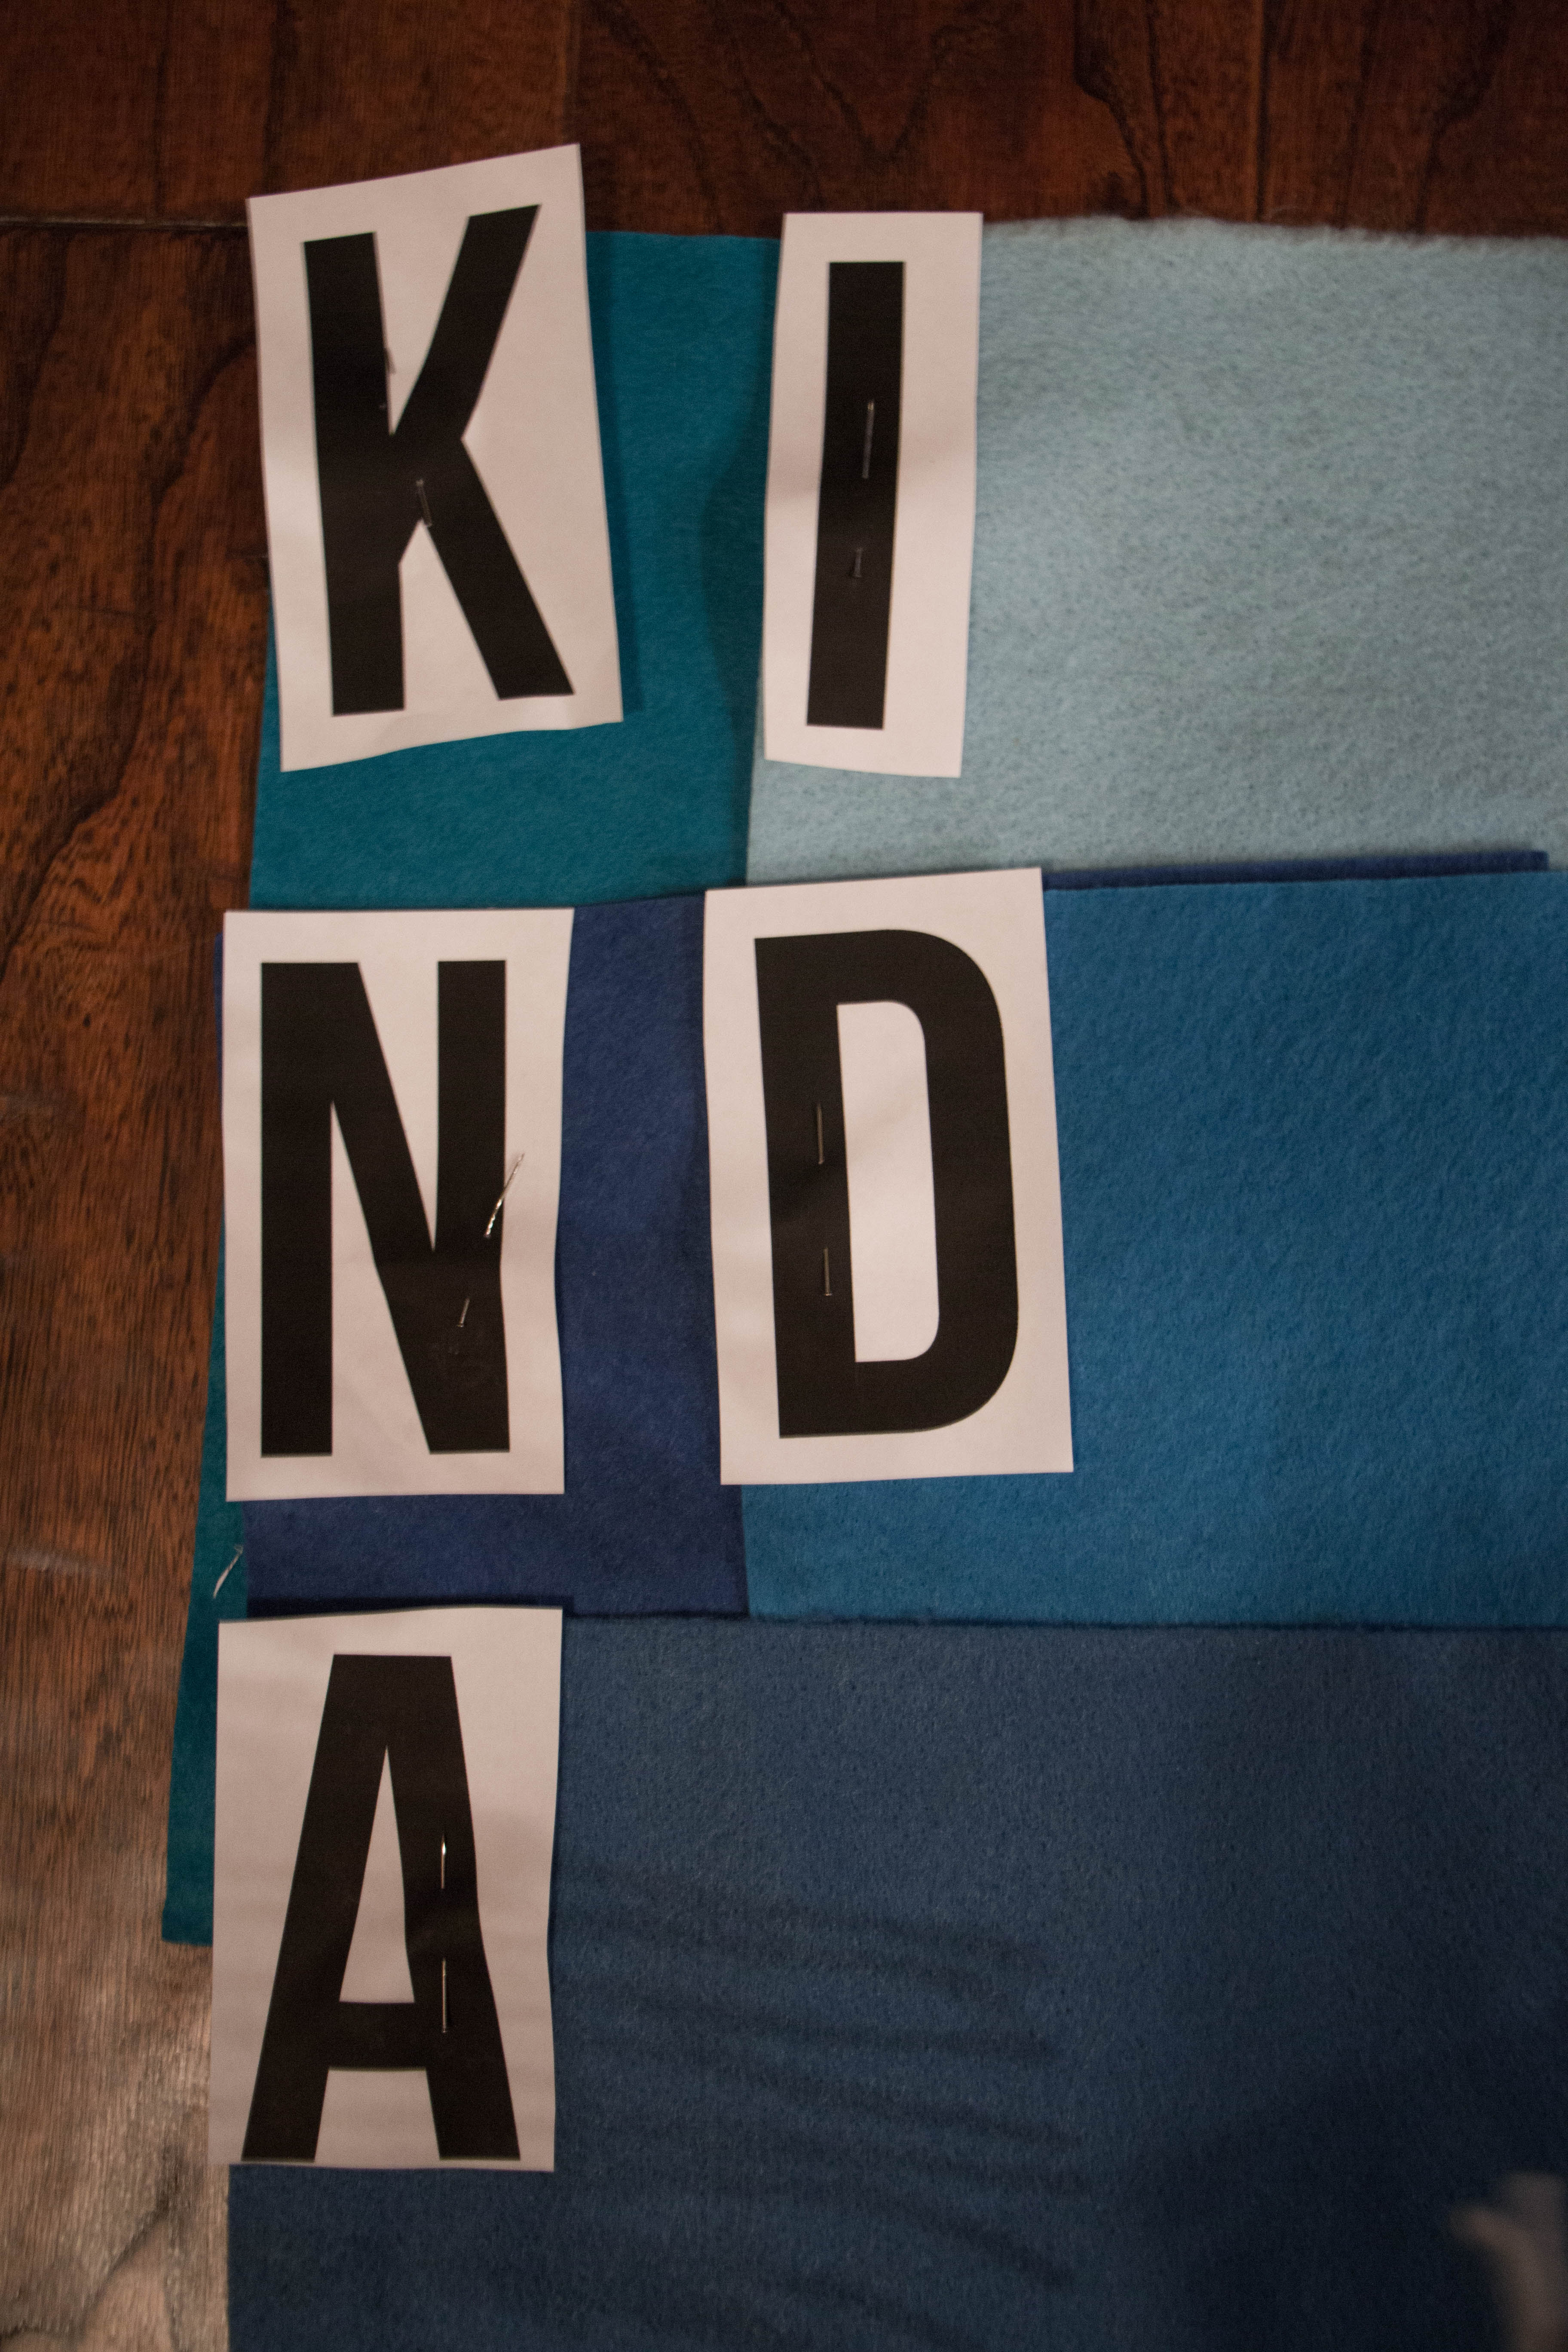
Step 1: Cut out letters in large general blocks like in the following image:

Step 2: Use pushpins to attach the letters to the pieces of felt. Make sure to use multiple points of attachment to keep the paper and felt from moving while you cut the letters out.
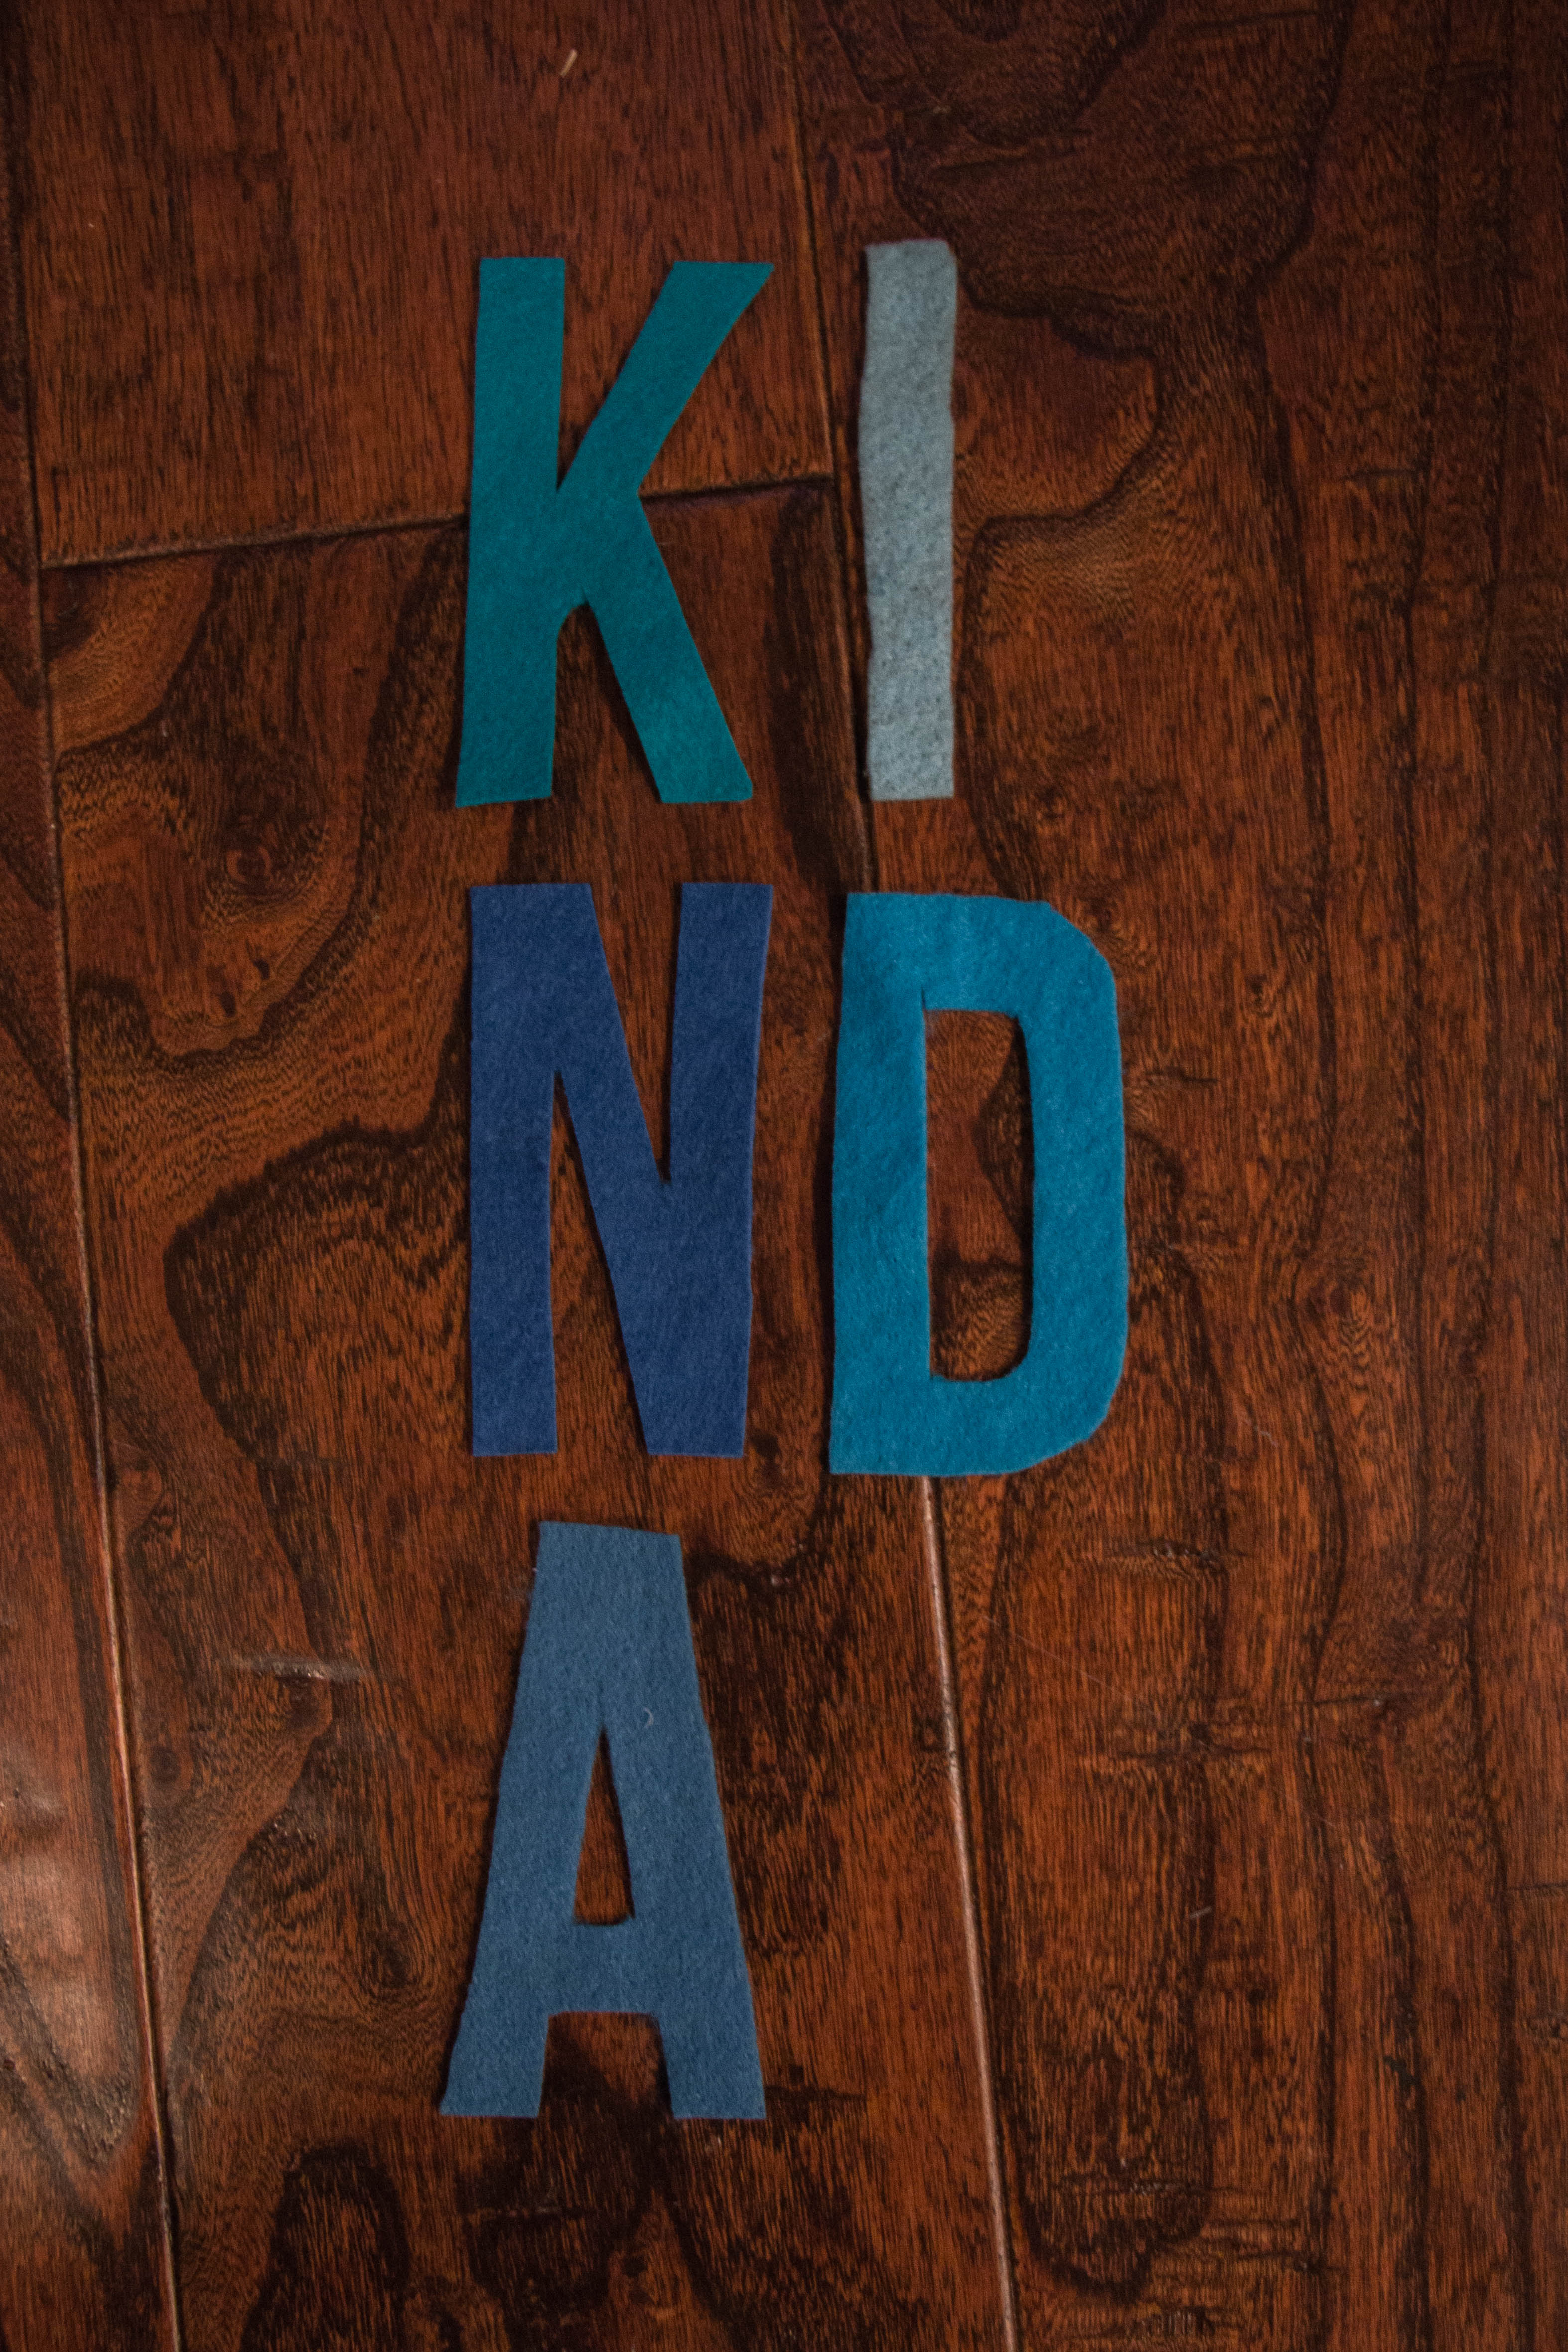
Step 3: Cut out the felt letters following the lines of the printed letters.
Step 4: Hot glue the letters on the boards, aligning the left edges and utilizing white space.

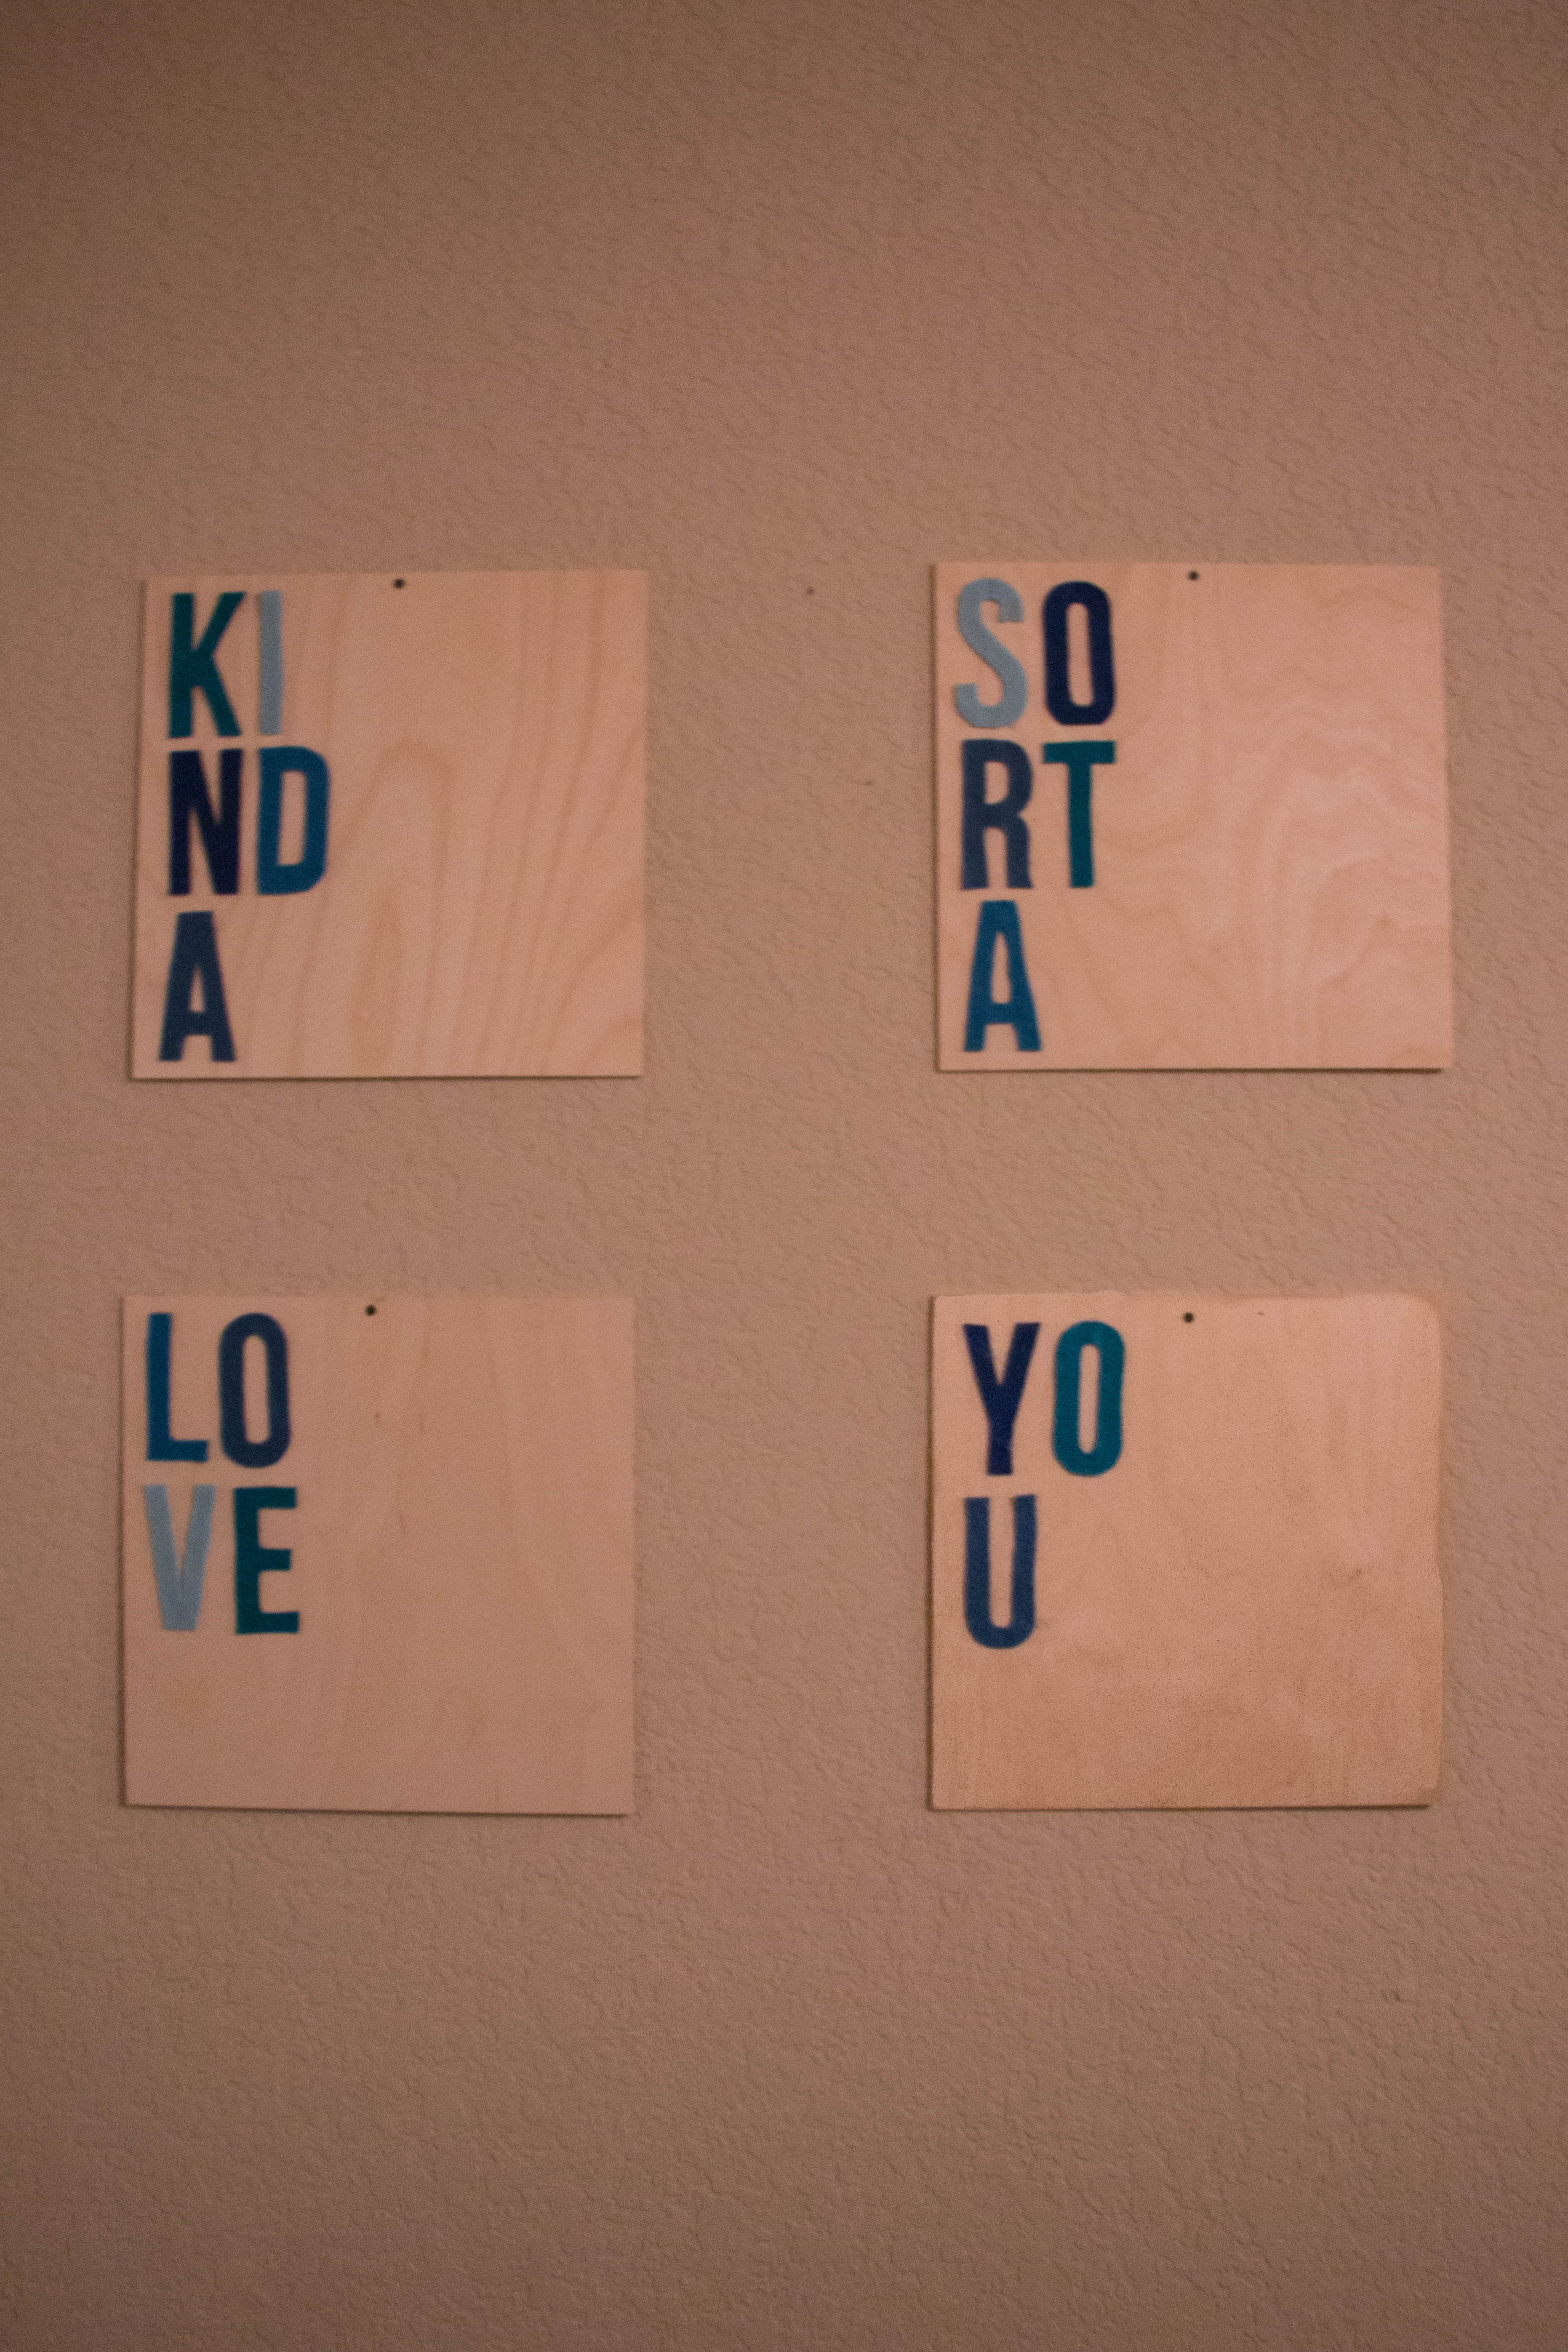
Step 5: Simply hang the boards on the wall and voila! You now have a personalized typographic art piece to show off!